")
Capturing a digital representation of fabric that is true to life is a key challenge facing the garment manufacturing industry in its digital evolution. Whether you are a mill sharing your materials with customers, or a designer crafting and developing garments each day, digital technology is fusing science and fashion.
Digital materials are made up of a complex collection of optical data properties that bring fabric to life in the digital world. In order to digitalize a material, a physical fabric is needed as an input, and there are best practices for preparing the fabric to achieve the best results.
In this post, we will cover:
- Fabric scanning technology options
- The steps to take to prepare your samples to digitize fabrics
- Best practices for the scanning process for digital fabrics
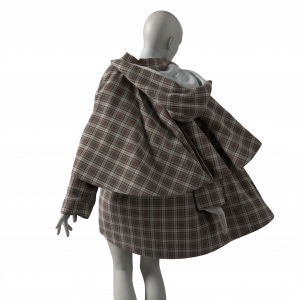
Textura digitized fabric on a SEDDI avatar
3D Fabric Scanning Technology
New scanning technology that leverages artificial intelligence allows for innovative ways to digitize material. Traditionally, it can take companies up to a month to digitize fabric, and high-touch digitalization services are typically costly. In these arrangements, companies send their fabrics to the service provider to have them scanned on optical capture machines.
Scientists at SEDDI have designed and built some of the highest fidelity optical capture machines (“gonioreflectometers”) in the world. Using these machines, the SEDDI team amassed the highest quality data to develop and train a neural network (i.e. AI) capable of producing true-to-life digital materials in minutes, in the cloud. This service is called Textura.AI. All you need is a quality scanner and some material samples to get started.
The following material preparation steps serve as a great starting point for any fabric digitalization process.
How to prepare fabrics for scanning
Selecting the area of your material to scan:
- Avoid problem areas. Don’t scan damaged areas, stains, large light or dark areas, thicker yarns or slubs not characteristic to the fabric.
- For yarn dye patterns, assure that more than one full combined structural woven repeat and yarn dye pattern is included.
- For printed fabrics, assure more than one straight repeat is selected if possible, otherwise if the pattern is in a half drop, assure that more than one area of the motif is selected.
- For organically patterned fabrics like heathered fabrics, larger is better. Try to avoid uncharacteristically splotchy areas if any are present in your fabric.
- Many solid fabrics have subtle yarn variations, for example, simple linen fabrics with variations in yarn thickness. A larger capture area is better. The more natural variations present and captured in your fabric sample allows your new digital material to take on its natural appearance in the 3D world.
- Check to confirm that the area selected is not larger than your scanner platen size. If it exceeds the scanner platen size, then it is not suitable for digitalization with your scanner.
Cutting, blocking and pressing process:
- Cut a swatch of the actual fabric that is at least 10 cm x 10 cm or 4 in x 4 in. It can be close to the scanner platen size or slightly larger by about an inch or so. The swatch should not be so large that it would prevent the material scanner lid from completely closing.
- Double-check any patterned fabrics to confirm slightly more than one pattern repeat is visible in the cut swatch.
- Remove lint, dust, pills, and loose threads with a lint brush.
- For fabrics with a nap, like velvets and corduroys, carefully brush the fabric to lay uniformly in one direction.
- Steam or press most fabrics (see our guide for the best methods to steam and press various types of fabrics and fibers, and for the exceptions when steaming or pressing is not advisable) to remove wrinkles assuring fabrics are properly blocked for capturing.
Assure your material is completely dry before moving on to scanning. Read more here on how to achieve tileable textures.
Best material scanner for fabric:
Types of scanners to avoid
-
Fabric digitalization requires a scanner that can scan photographic images. Scanners optimized for black and white text recognition and basic graphics, like charts and graphs that do not include optimization for photos, are not acceptable. Often these suboptimal scanners are included in large photocopiers like you might see in the self-service area of big box office stores. They are great for scanning huge binder documents, but they are not going to capture the intricacies of fabric.
Types of scanners to use
- Check to see if your scanner includes a full-color mode.
- What kind of resolution settings are possible?
- SEDDI requires 300 PPI minimum and processes images up to 1200 PPI. If you can scan at 300 PPI you are ready to start scanning.
- SEDDI requires 300 PPI minimum and processes images up to 1200 PPI. If you can scan at 300 PPI you are ready to start scanning.
Setting up the scanner
- Clean your material scanner surface to avoid stains on the image.
- After cleaning, assure the platen is dry and free of streaks that can cause reflections.
- Determine image quality for scanning: 300 – 1200 PPI with a minimum scan area of 10 cm x 10 cm or 4 in x 4 in.
Scanning your fabric
- Place fabric in scanner device ensuring:
- The fabric swatch is correctly aligned and positioned on the scanner.
- The fabric grain line is straight horizontally for the weft and vertically for the warp with the top of the fabric displaying as the top edge of the scanned image.
- More than one full repeat of yarn dye or print pattern is included in the capture area.
- No lint or dust is present.
- Close the scanner lid ensuring it is flat to prevent ambient light from leaking into the scan. A solid object like a book can be used to fully close the lid, but be careful to avoid using too much weight crushing the fabric surface.
- Use your scanner’s preview tools to view the material and confirm it is placed on the scanner straight, and that it is wrinkle and lint-free.
- When everything looks good, scan either the full platen surface (it can be cropped later with SEDDI’s Textura upload tools) or select a minimum scan area of 10 cm x 10 cm or 4 in x 4 in that includes slightly more than full pattern repeat if applicable. When in doubt, larger is better—this goes for solid fabrics too!
Tips and reminders for scanning and fabric
Accurate digital fabrics start with careful work to create the best version of your material possible. Wrinkles that are almost invisible can appear in high contrast on digital materials in the 3D world.
While it is sometimes possible to remove imperfections, it is far easier to assure high-quality assets by eliminating them from your sample before scanning.
Sometimes folks will want to scan a constructed garment without cutting a swatch. While this is possible, it is not the best practice. Seams cause tension in the fabric surface that is not present in a cut swatch. These subtle areas of tension can cause micro ripple effects that make digitalization impossible and varies by material.
Textile digitalization: The future of garment design
Textura AI digitalization tools put the power in your hands to scale your business easily from your home or office, anywhere in the world. Just upload your scans and let Textura’s AI texture cloud-based tools digitize true-to-life, digitized materials.
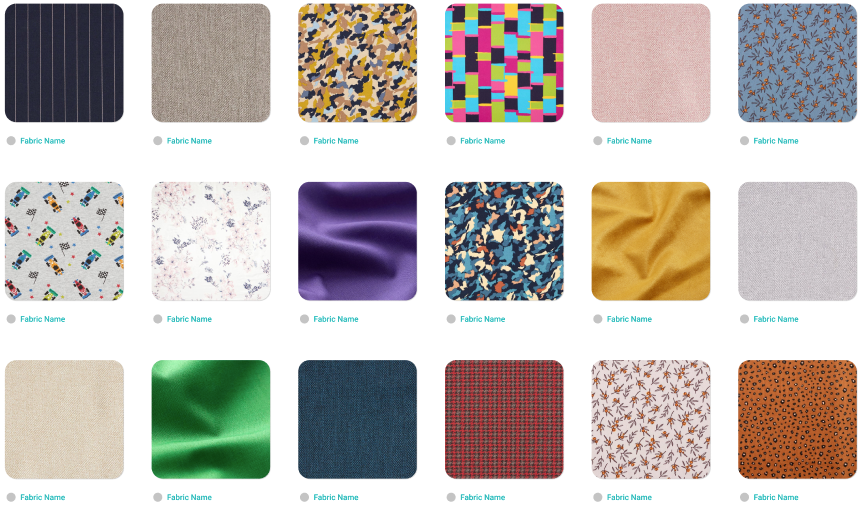
Digital fabric library in Textura
Ready to see how real digital fabrics can be? Click here to get a demo.